Fibre cement siding with a high degree of durability, low maintenance, and fire resistance is called Hardie board siding. For homeowners looking for a siding material that looks excellent and lasts for many years, this is a popular option.
A qualified contractor can install Hardie board siding, but with the correct equipment and supplies, you can easily do it yourself.
Here is a comprehensive explanation on How to Install Hardie Board Siding.
- Equipment and Supplies
You’ll need the following supplies and tools to install Hardie board siding:
- Panels of Hardie Board siding
- Beginning strip
- Channel J
- Corner articles
- Door and window trim
- Screws or nails for siding
- A drill or hammer
- The Chalk Line
- A handy knife
- Caulk gun
- Caulk
- Getting the Wall Surface Ready
Prior to starting the installation of Hardie board siding, the wall surface must be prepared. This include taking out any outdated siding, fixing any wall damage, and putting in a moisture barrier.
Use a bladed knife to make cuts through the siding at the top and bottom of the wall in order to remove old siding. After that, remove the siding panels with a pry bar.
Examine the wall for any damage once the old siding has been eliminated. Use patching compound to seal any holes or cracks you notice. Install a moisture barrier over the wall as a last step. This will lessen the chance of moisture-related destruction to the Hardie board siding.
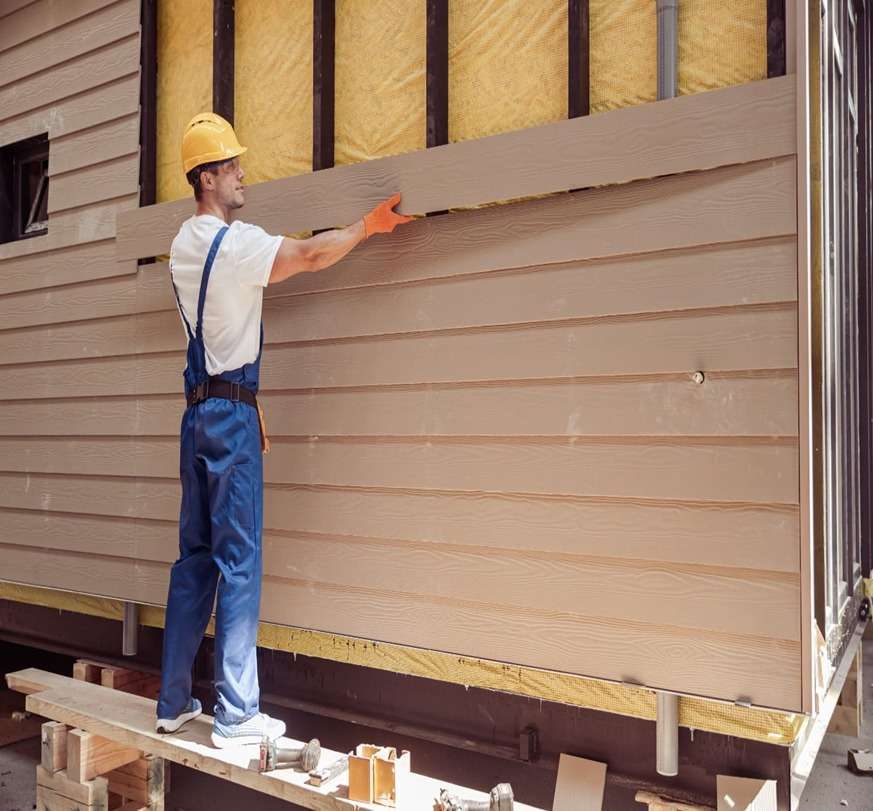
- The Hardie Board Siding Installation
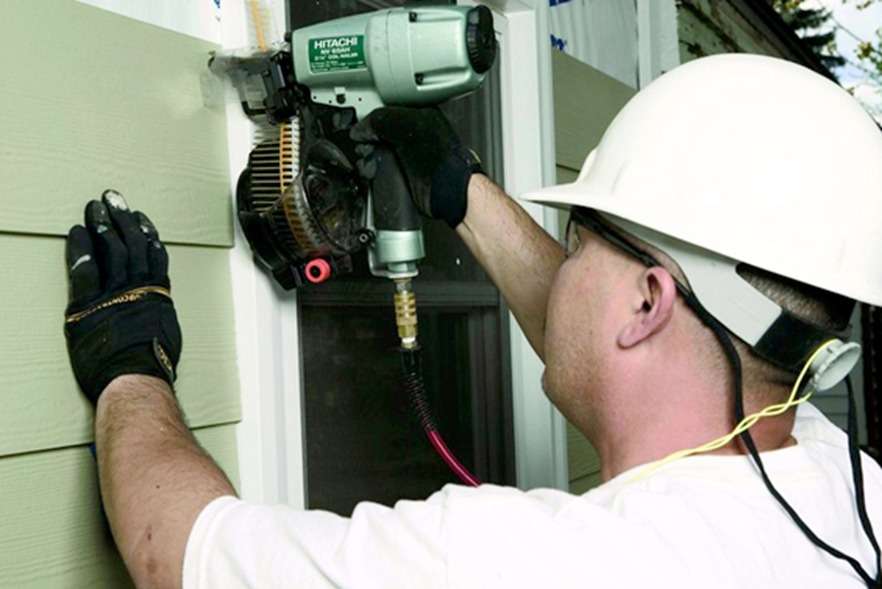
Installing the first course of siding panels is the first step in installing the Hardie board siding. Level the first panel by holding it up against the beginning strip. The panel should then be fastened to the wall studs using screws or siding nails. Make sure the panels are at least 1 1/4 inches overlapped for the second and subsequent courses of siding. Ensure that the screws or nails are inserted into the wall studs and through the overlap.
- Fitting the Door and Window Trim
The trim for the windows and doors is put in place around them. It gives the surface a polished look and aids in keeping moisture out.
After cutting the trim to length, fasten it to the wall with siding nails or screws to install the window and door trim. To prevent the siding from cracking, make sure there is a tiny space between the trim and the siding.
- Troubleshooting
Try cutting slower or with a sharper blade if you are experiencing problems cutting Hardie board siding. Try utilizing a different kind of nail or a different nailing technique if you are experiencing problems nailing Hardie board siding. Make sure to caulk any holes you see right away between the siding and the trim.
6. Completing the Task
After installing the Hardie board siding, you must caulk every seam to complete the project. This will assist in keeping moisture out and stop leaks.
Apply caulk to all of the seams between the siding panels and the corner posts using a caulk gun to seal the joints. Additionally, caulk the window and door frame seams. If desired, you can paint the Hardie board siding after the caulk has dried.
7. Ideas on How to Install Hardie Board Siding
- Before you start putting the Hardie board siding, make sure the wall surface is adequately prepped. This include taking out any outdated siding, fixing any wall damage, and putting in a moisture barrier.
- To make sure the Hardie board siding panels are installed straight and level, use a level.
- Allow the Hardie board siding panels to overlap by a minimum of 1 1/4 inches.
- Insert the screws or nails into the wall studs by driving them through the overlap.
- To give the siding a polished look and aid in preventing damage, install the corner posts and window and door trim.
- To keep moisture out and stop leaks, caulk all of the seams.
- If desired, paint the Hardie board siding.
8. The Appropriate Hardie Board Siding
There are numerous designs and colours of Hardie board siding available, allowing you to customise the exact look you want for your house. When selecting Hardie board siding, keep the following things in mind:
- Style: Board and batten, shake, and lap siding are just a few of the types available for Hardie board siding. Select a style that best accentuates your home’s architectural features.
- Colour: There is a large variety of colours available for Hardie board siding, so you can pick the ideal shade to complement the exterior of your house.
- Texture: Woodgrain, rough, and smooth are just a few of the textures available for Hardie board siding. Select the texture that most appeals to you.
9. Installing Corner Posts
The corner posts are positioned at the exterior corners of the wall. They help to prevent corrosion and give the siding a shiny look. To install the corner posts, align them with the corners of the wall and balance them. The corner posts then need to be affixed to the wall studs with siding nails or screws.